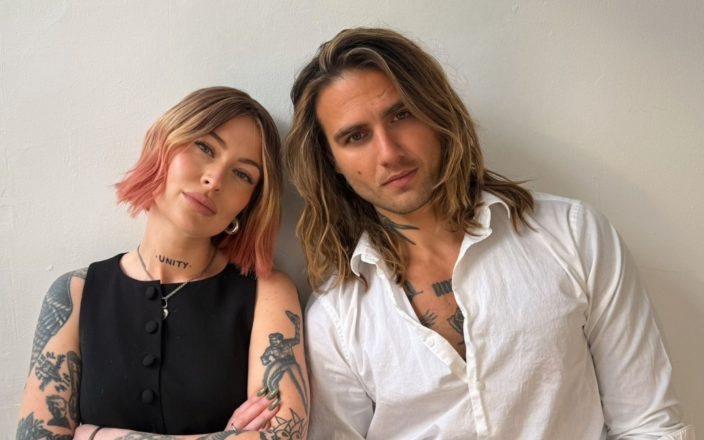
Katy Grimshaw, founder of Spectrum One Hair Extensions, has launched the first ever extensions cutting course, Beyond the Blend.
Engineered to help extensionists to take their finish to a whole new level. This isn’t a simple ‘cut and blend’, it’s a cutting course library that will arm stylists with the knowledge they need to overcome any cutting, blending or finish challenges. Below she talks us through the Butterfly Cut.
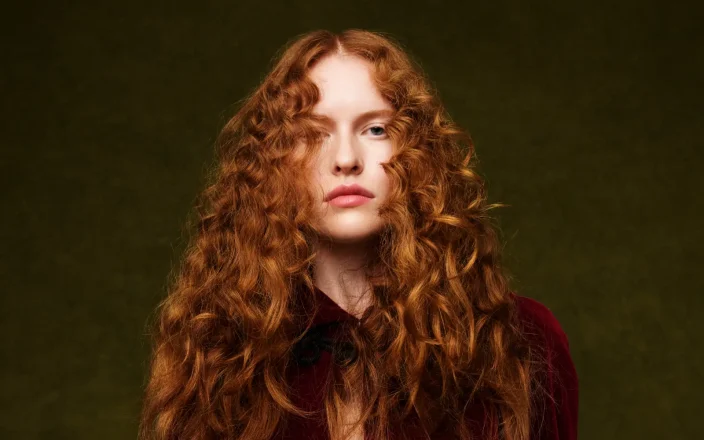
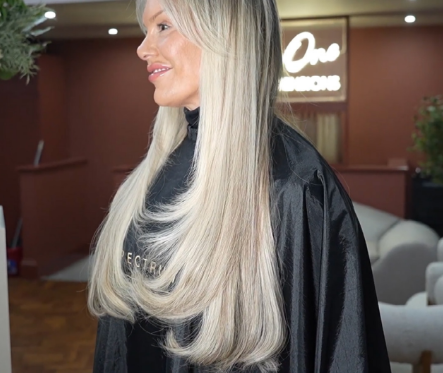
The Butterfly Cut is a heavily layered cut that works best on extensions clients that have lots of packs applied. The base of the hair stays thick and heavy, whilst the Butterfly technique allows for movement, texture and choppy layers.
Step 1
Post-extension install, stand your client up and start to cut the perimeter in. For a Butterfly Cut you don’t want wispy edges, you’re looking to create quite a solid base. Scissors should be at a vertical level, and I’m cutting the perimeter in to line up with the shortest extension.
Step 2
Now we’re working on the sides, bringing the hair on the sides forward, working from the back I point cut to blend into the front face framing sections. This is to establish continuity with the overall haircut.
Step 3
Moving onto the front sections I have my client point their chin upwards towards the ceiling. I take off any corners as needed, and because of my clients head position I’m creating graduation.
Step 4
Using my clients fringe as a guide, using the inner part of my blade I’m going to cut into those front sections with a lot of pressure. The beauty of this client is that we’ve put a lot of packs of extensions into her hair, so I
can really go for it when cutting these layers in.
Step 5
Identify the heavy corners around the front that need shattering, taking the inner part of my blade and really cutting into the hair to form those textured layers.
Step 6
Repeat on the opposite side.
Step 7
Switching between both front sections, I’m freehand layer cutting to really amp up those textured layers.
Step 8
As with all extension hair cuts, now I need to blend the natural hair. Taking the top section of natural hair over direct and point cut into the natural hair to blend out that base line.
Step 9
Not only are we overdirecting and cutting into the natural hair, we’re also going to do that with the top layer of extensions. As this is a layered cut, overdirect, and then cut the extensions in a scooping motion to layer between the natural base line, and the new extensions base line.
Step 10
Now we’re layering the upper section with the lower section, I’m still leaving out a lot of hair at the bottom because we want layers, but we still want a solid base. Using the internal part of my blade I’m scooping out more of the hair.
Step 11
Moving around to the front, directing the hair out and up to point cut for a final softening of those corners. The reason I choose to cut at that angle is because it ensures we don’t have any harsh lines, and everything is super soft.
View this post on Instagram
Beyond the Blend is now live, to book follow the link: www.spectrumonehair.com/pages/beyondtheblend-cuttingmasterclass
View this post on Instagram